ViewLoader Orion Expansion Chamber Modification
As you noticed (or
not) you cannot fit a regular spyder style low pressure chamber aka volumizer
onto a Orion (or Avenger).
It is because Orion is threaded deeper and has this small hole on its
left side(Which happens to be right after the seal). Now, a bigger low
pressure chamber will give you better consistancy of your marker. There
are several ways of making this happend.
1. Use epoxy glue
to plug that small hole.
2. Do some spot welding (if you got the equipment).
3. My way - dril out the hole bigger thread it and screw it tight.
Problem with sealing the hole with glue of any kind is that the glue usually stays in one shape, but the metal of the marker will shrink and expand when fired or put in the sun, this will eventually make the filling fall out, and by murphy's law in least proper moment. I figured one needs something more solid which will hold.
Once again, disclaimer! I am not 100% sure but with 98% certainty I'll tell you that drilling a hole in the side of your marker will void the warranty! And if you screw up you will have a problem cause you will have a marker with a big hole.
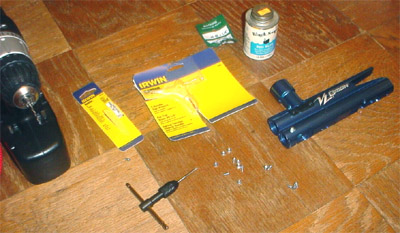
Below (on the picture) you see a tap and a manual handle for it, if you have a drill press you might want to use that but with hole so small I think manual way is good. This is the smallest tap I could get in Homedepot that's not to say that noone has smaller. I also got matching screws, flathead kind (not the best choice), its better to get hex or philips or for you in canada that nice square canadian groove one.
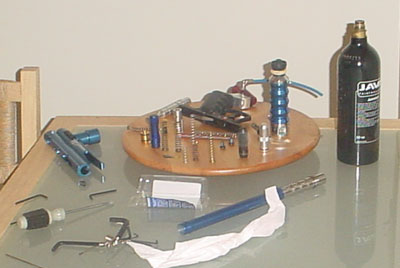
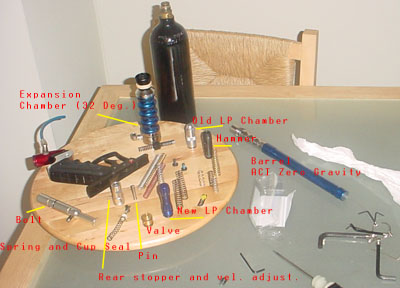
Step 1. Take your marker(Orion/Avenger) apart. That means, pull the pin from the back and pull out the bolt and hammer assembly. Undo the barrel and current low pressure chamber, pull out the spring and the cup seal. Unscrew the 2 screws on the trigger frame and take it off, undo the brass screw under the trigger fram and pop the valve from the bottom tube (one where the hammer goes) (use plastic or wooden object to pop it out, never metal!!!). If everything is out you can proceed with drilling.
Step 2. Drill. On 90 deg. angle. Use a vise and or drill press to do it right.
Step 3. Tap the hole carefuly. If you screw up then you gotta re-drill and get a bigger tap to do it again.
Step 4. You can then test if the screw screws in nicely. Make sure that the screw is not deep. Get one that is about the width of the side of the body of the marker. I advise sealing more by either wrapping the screw in teflon tape or some other sealant. I use black swan - Big Blue air sealant for pressures up to 3000 psi works great! If by some chance you made the hole too big and the screw is leaking air, use epoxy for metal and you are fine.